I think most people can relate to this situation. You’re in a beautiful location, on the trip of a lifetime, and the scenery in front of you is just breath-taking. The colors are so vivid, the details are incredible, and you can barely believe what you’re experiencing. You pick up your camera to take a photo so that you can remember this moment and everything you’re seeing. Then, later on, you scroll through the photos you took in that moment, and realize that none of them do it ANY justice. One’s blurry, a hand made its way into another, and the colors are so… muted. Damn.
While that sucks (big time), the great news is that you don’t have to be a professional photographer to transform your travel photos from blah to gorgeous. A few bits of photo gear, software, and a good eye will help you to take much better travel photos.
1. Camera (duh)
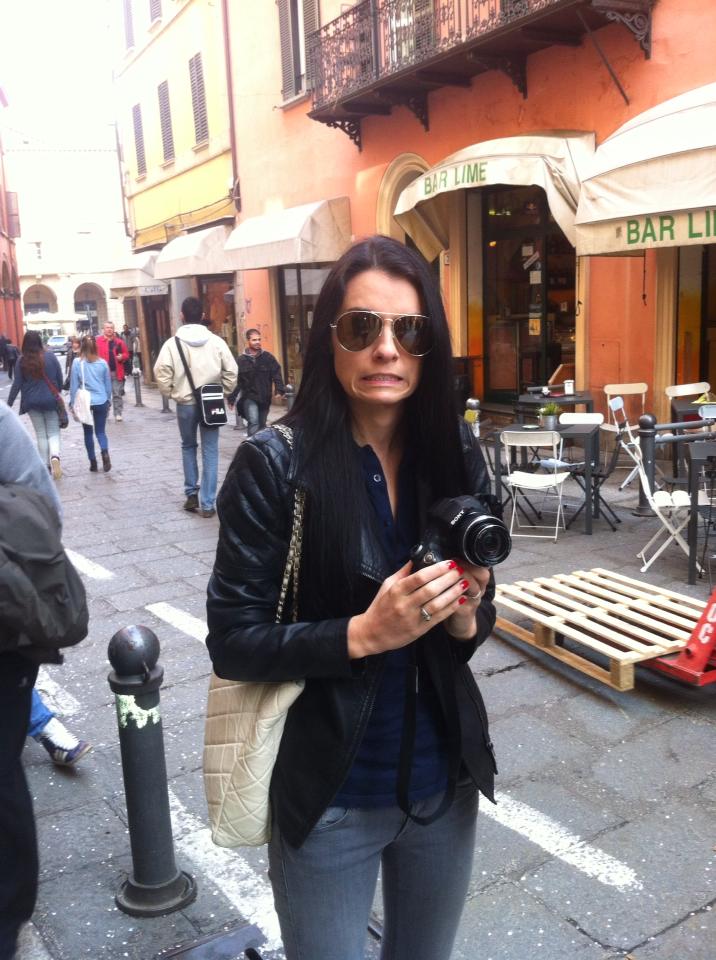
This is an obvious one, but I want to point out that when I opened up my Nikon d3200 for Christmas a couple of years ago that my travel photos started to turn out much better. Part of the reason is that since it was such an expensive item that I didn’t want to waste it by shooting in Auto mode, and therefore forced myself to learn manual. The difference in quality is just unreal, with sharper images, more flexibility in the depth of field (the amount that the background is blurred), and other advantages. With the one disadvantage of not having a flip-out screen (only a problem if you’re attempting to self-vlog), I really recommend this camera— and I don’t even own any other fancy lenses… yet! Get it on Amazon US or Amazon UK.
BUT— that being said, you DEFINITELY don’t need a fancy camera to take great travel photos. Tips and tricks like always shooting with good light, using the rule of thirds, and other easy photography principals will help you take lovely photos on your phone or point-and-shoot. If you learn how to set up a better photo, you’ll then be able to take it to the next level when you edit (which we’ll get to.)
2. Gorilla Pod (or a tripod)
This thing is amazing! This is a great travel tripod, because it wraps around anything, like trees, so you can set it up anywhere and it will be difficult for someone to snatch it quickly. I take my JOBY Gorilla Pod with me so that I can record steady videos, take cool time-lapses, and snap photos of Tom and I together without having to search for a stranger to take it for us– those photos usually turn out terrible anyways.
Joby Gorilla Pods come in sizes for smartphones, action cameras, point-and-shoots, and DSLRs. Buy one on Amazon US or Amazon UK.
3. A Discreet Camera Bag
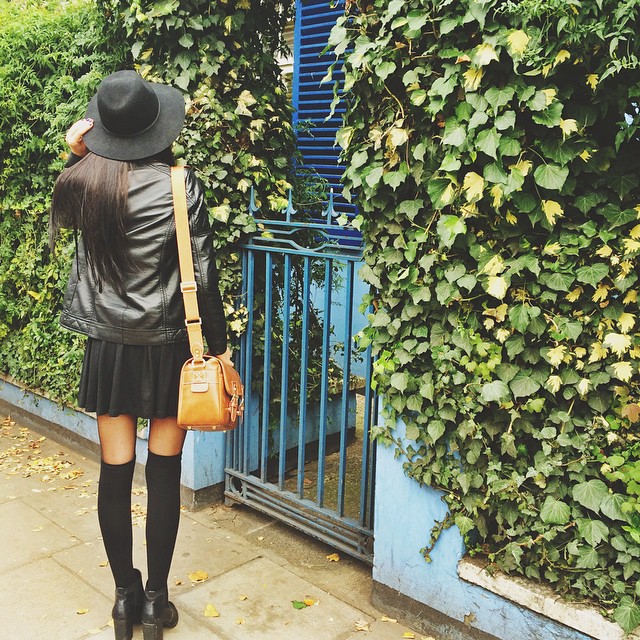
If you’re always worried about taking your camera out and about with you while you’re traveling because you’re afraid it will get stolen, I get it… but you’ll miss out on so many great photo opps. You may feel more comfortable if you carry it in a more discreet way than in a massive camera bag that just screams out “rob me!” I use the bag in the photo above, which I purchased from Etsy, which is stylish, fairly discreet, super-protective and it holds plenty. I also have a camera bag insert, which I use when I want to carry my camera in my normal purse but still need some protection for it. Get one on Amazon US or Amazon UK.
4. Smartphone camera lenses
If you’re planning on only using your phone for snapping pics during your travels, get creative with some funky lenses! Tom received these olloclip lenses for his birthday and has since upgraded his phone, which means they’re now MINE 🙂 Take some crazy-close ups with one of the Macro lens, go fish-eye, or use wide-angle to get more in your shots. Get them on Amazon US or Amazon UK.
5. Awesome apps
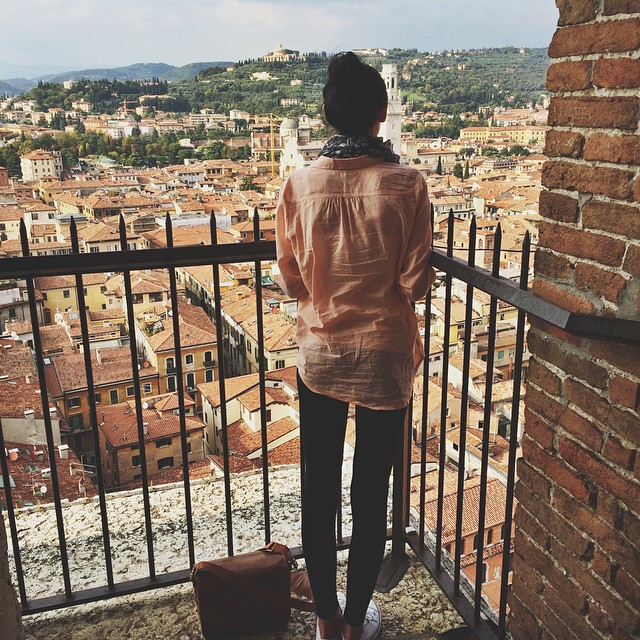
Photo editing apps can help take your smartphone photos from mediocre to holy-crap-this-is-awesome. Apps like Afterlight and VSCO Cam let you adjust lighting, increase saturation (adding color), sharpen and more right on your phone. Perfect for some quick edits before uploading your vacation photos to Facebook or Instagram (like the photo above). If you’d rather edit on desktop, you can’t beat PicMonkey.
6. Wireless Adapter or Remote
I have a wireless adapter for my DSLR and it’s one of the best things I’ve ever purchased. I plug this little guy into my camera and it connects to an app on my phone. In this app I can do two things– take photos remotely and download photos already on the memory card onto my phone. I use the latter function more as it means I don’t have to keep switching between my phone and camera if I’m Instagramming while traveling, I can instead just ‘gram the photos that I’ve taken on my camera. It’s also great for when I set up a shot using the Gorilla Pod that I’m also in– no need for running back and forth between the camera and my spot in the photo as the self-timer ticks down…





Great tips jess!
Thank you Cat 🙂
BRB buying loads of stuff on Amazon. These are really useful tips, I’m always so annoyed by my rubbish photos when I get back to England, and it’s too late to do anything about it!
So glad you found them useful Farrah 🙂 Let me know if you have any more questions about taking rad travel pics!
Thanks for the great tips!! I will definitely invest in a discrete camera bag before my travels. Any advice on an easy way to learn to shoot on manual? I’ve tried to learn a few times and can’t seem to comprehend #ForeverStuckOnAuto
I used to be the same way Kylie– I took a couple of classes where I learned Manual, and honestly, the best way to do it is to force yourself to always be shooting in manual. It’s taught me so much, and now I can do it much easier and intuitively… in fact, I never use Auto anymore and don’t like to. It’s really all about the practice. Also, don’t be intimidated by the “M”… I usually don’t get that technical, and just shoot in A-Priority or S- priority. Only when I have the time to fiddle around will I shoot in full-on manual. I hope that helps Kylie.
Yes, thank you!!
Do you know if there’s a wireless adapter for Canon DSLRs like the one for Nikon you linked to?
I’m not 100% sure but I bet you there is!